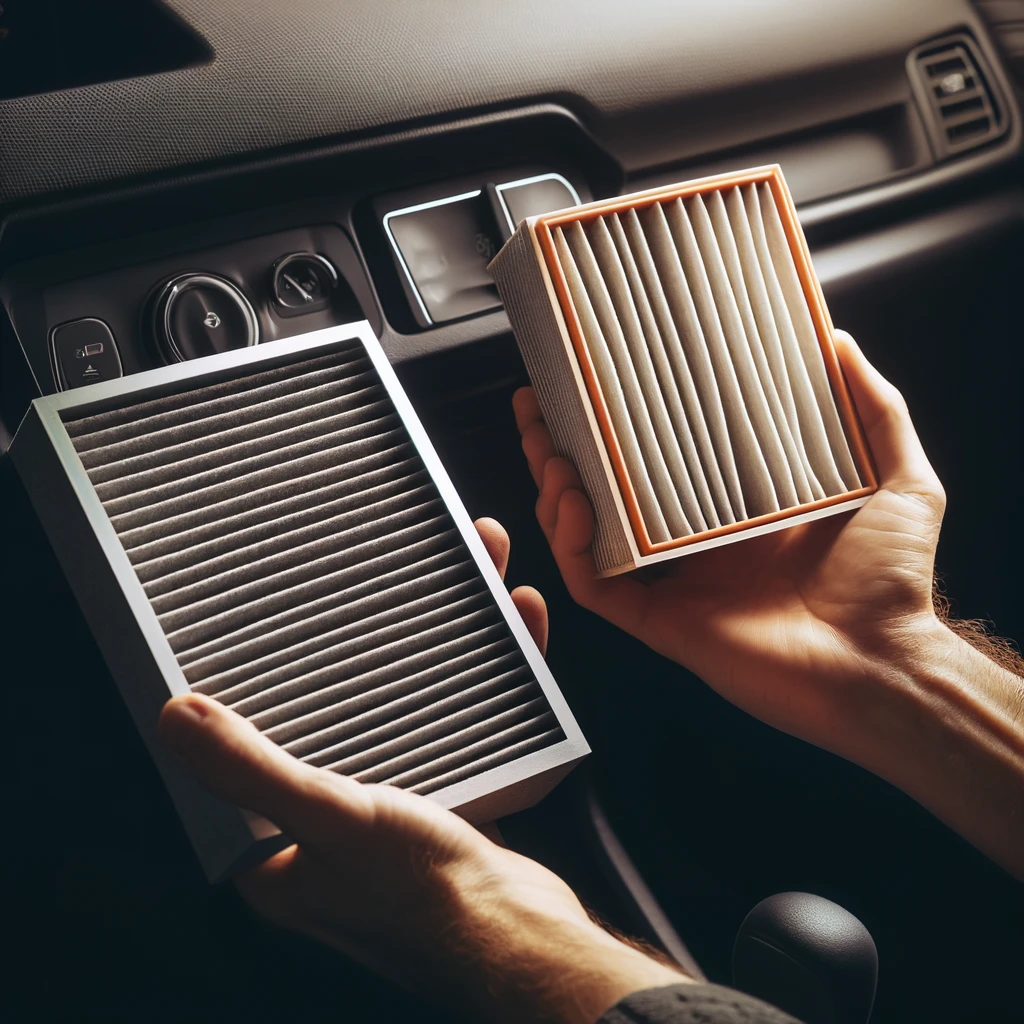
Changing your cabin air filter is an essential maintenance task that ensures the air inside your vehicle is clean and free from pollutants. Over time, the filter can become clogged with dust, pollen, and other debris, reducing its efficiency. This guide will walk you through the steps to change your cabin air filter, ensuring your car’s air quality remains optimal.
Why Change Your Cabin Air Filter?
- Improved Air Quality: A clean filter ensures that the air inside your car is free from allergens and pollutants.
- Enhanced HVAC Performance: A clogged filter can strain your car’s heating, ventilation, and air conditioning (HVAC) system.
- Odor Reduction: A new filter can help reduce musty odors inside the vehicle.
When to Change Your Cabin Air Filter
Most manufacturers recommend changing the cabin air filter every 12,000 to 15,000 miles or once a year. However, this can vary based on driving conditions. If you drive in heavily polluted areas or on dusty roads, you may need to replace the filter more frequently.
Tools and Materials Needed
- Replacement cabin air filter
- Screwdriver (if necessary)
- Owner’s manual (for reference)
- Clean cloth or vacuum
Step-by-Step Guide to Changing Your Cabin Air Filter
Locate the Cabin Air Filter
The cabin air filter is usually located behind the glove compartment, under the dashboard, or under the hood. Consult your owner’s manual to find the exact location.
Access the Filter Housing
- Behind the Glove Compartment: Open the glove compartment and remove any contents. Disconnect the glove compartment by gently pressing on the sides to release the stops.
- Under the Dashboard: Look for a panel beneath the dashboard on the passenger side. You may need to remove screws or clips to access the filter housing.
- Under the Hood: Locate the filter housing near the windshield. You may need to remove a cover or panel to access it.
Remove the Old Filter
Once you have access to the filter housing, carefully remove the old filter. Note the orientation of the filter (which side faces up) as you will need to install the new filter in the same way.
Clean the Filter Housing
Before installing the new filter, use a clean cloth or vacuum to remove any debris from the filter housing. This ensures the new filter will work efficiently.
Install the New Filter
Insert the new filter into the housing, making sure it is oriented correctly. Refer to the markings on the filter for proper installation.
Reassemble the Housing
Reassemble any covers or panels you removed to access the filter housing. If you removed the glove compartment, reattach it by reconnecting the stops and ensuring it operates smoothly.
Conclusion
Changing your cabin air filter is a simple yet crucial maintenance task that can significantly improve the air quality inside your vehicle. By following this step-by-step guide, you can ensure your car’s HVAC system functions efficiently and provides clean air for you and your passengers.
FAQs
1. How often should I change my cabin air filter?
- Most manufacturers recommend changing it every 12,000 to 15,000 miles or once a year.
2. Can I change the cabin air filter myself?
- Yes, changing the cabin air filter is a straightforward task that you can do yourself with basic tools.
3. What are the signs of a dirty cabin air filter?
- Reduced airflow from the vents, unpleasant odors, and increased dust inside the car are common signs.
By following this guide, you can easily change your cabin air filter, ensuring a cleaner and more comfortable driving experience.
