Introduction
Paint chips on vehicles are more than a mere cosmetic concern—they are the harbingers of potential rust and further damage to your car’s exterior. Ignoring these small imperfections can lead to significant issues, as moisture and environmental factors can turn a minor chip into a major problem over time.
Fortunately, the process of fixing paint chips is within reach for most car owners. It requires patience, the appropriate materials, and a systematic approach. This article aims to equip you with a detailed, step-by-step method to effectively repair paint chips, thereby not only restoring your vehicle’s aesthetic appeal but also safeguarding its structural integrity.
Whether you consider yourself a DIY aficionado or you’re just starting out with car maintenance, this guide is designed to be an invaluable resource. By following our comprehensive approach, you’ll be able to tackle those unsightly paint chips, preserving both the look and the value of your vehicle.
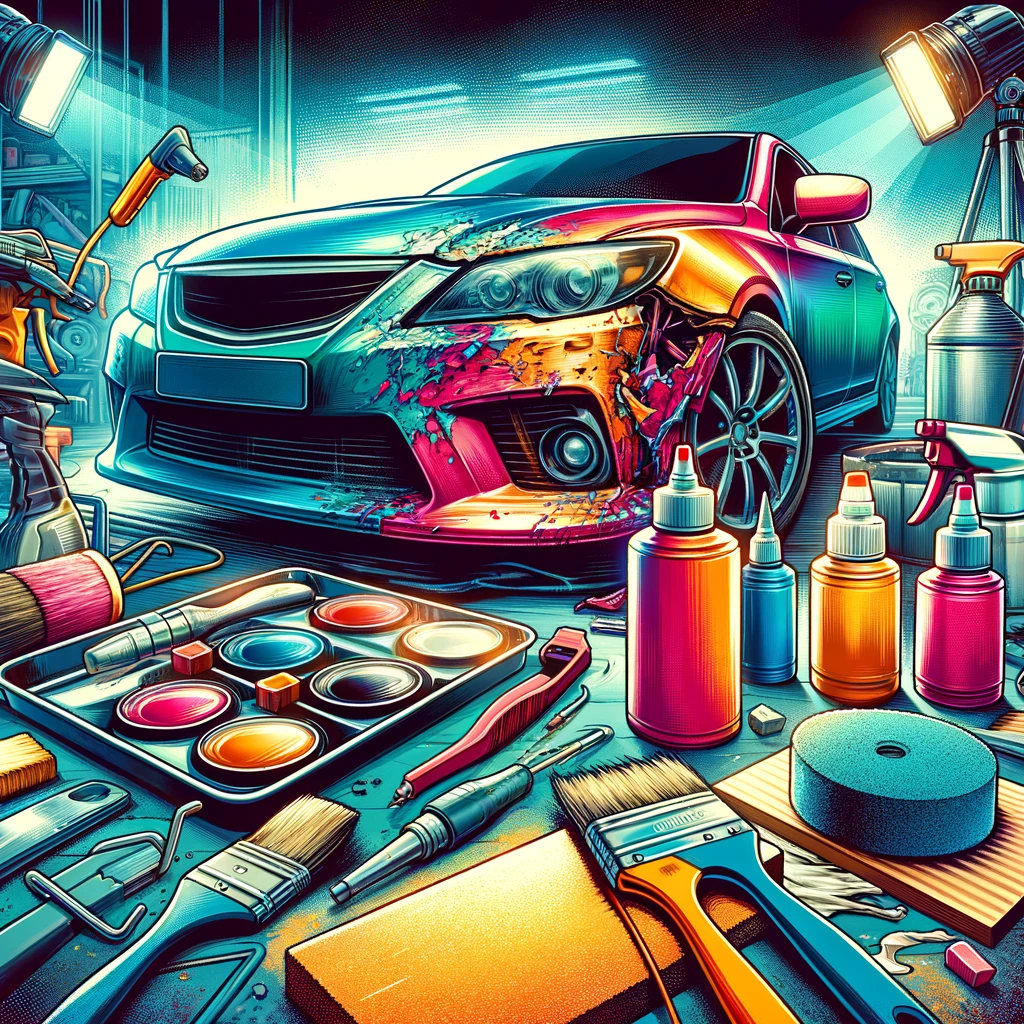
Materials Needed for Fixing Paint Chips on Your Car
Before you embark on the journey of repairing paint chips on your car, it’s crucial to gather all the necessary materials. Having everything you need at hand will not only streamline the process but also ensure the best possible outcome. Here’s a comprehensive list of materials and tools you’ll need:
- Automotive Paint: You’ll need paint that matches your car’s exact color. Most auto parts stores can mix it for you based on your car’s make, model, and year, or you can find the paint code located on your vehicle’s compliance plate.
- Primer: A quality automotive primer is essential for preparing the chipped area, especially if the metal is exposed. Primer ensures the paint adheres well and provides a layer of protection against rust.
- Clear Coat: A clear coat is applied over the dried paint to protect it from the environment and UV rays, ensuring the repair blends seamlessly with the rest of the car’s finish.
- Sandpaper: You’ll need a variety of sandpaper grits, ranging from 200 to 2000, for different stages of the repair process. Starting with a coarser grit for shaping and finishing with a finer grit for smoothing.
- Paint Brushes or Micro Applicators: Small, precision tools for applying paint and primer to the chipped area. Micro applicators are perfect for tiny chips, while fine brushes can be used for slightly larger areas.
- Rubbing Alcohol or Automotive Pre-Paint Cleaner: To clean the area thoroughly before applying any paint, ensuring that it’s free of oils, waxes, and dirt.
- Wax and Grease Remover: This is used for an initial cleaning to remove any surface contaminants that could prevent the paint from adhering properly.
- Microfiber Cloth: For cleaning and wiping down the area without leaving lint or debris behind.
- Masking Tape and Plastic Sheeting: To protect the surrounding areas from accidental overspray or drips when applying primer, paint, and clear coat.
- Gloves and Safety Glasses: To protect your hands and eyes during the repair process.
- Polishing Compound: After the repair is complete and the clear coat has cured, a polishing compound can be used to blend the repair area with the surrounding paint, restoring shine and ensuring a smooth finish.
Gathering these materials before you start will make the repair process more efficient and help achieve a professional-looking result. In the next section, we will guide you through the step-by-step process of repairing paint chips on your car, utilizing these materials.
Step-by-Step Process for Repairing Paint Chips on Your Car
Repairing paint chips on your car involves a detailed process to ensure the best results. Follow these steps carefully to restore your car’s finish and protect it from further damage:
Step 1: Clean the Area
- Wash the affected area with soap and water to remove any dirt and debris. Rinse thoroughly and dry.
- Apply wax and grease remover with a microfiber cloth to eliminate any remaining contaminants.
Step 2: Prepare the Chip
- Sand the chipped area gently with 200-grit sandpaper to remove any rust and create a smooth surface for the primer to adhere. Be careful not to damage the surrounding paint.
- Clean the area again using rubbing alcohol or automotive pre-paint cleaner to ensure it’s completely free of dust and oils.
Step 3: Apply Primer
- Tape around the chip with masking tape to protect the surrounding area.
- Apply a thin layer of primer to the chip using a micro applicator or a fine brush. Allow it to dry according to the manufacturer’s instructions, then apply a second coat if necessary. For deeper chips, more than one layer of primer may be required to level the surface.
- Sand the primed area lightly with 600-grit sandpaper to smooth any bumps.
Step 4: Paint the Chip
- Shake the automotive paint well before use.
- Apply the paint to the primed area using a micro applicator or a fine brush, building up the paint in thin layers until the level matches the surrounding area. Allow each layer to dry thoroughly before applying the next.
- Let the paint cure for at least 24 hours, or as recommended by the paint manufacturer.
Step 5: Apply Clear Coat
- Apply a clear coat over the painted area to seal and protect the paint. Use a new brush or applicator to avoid contamination.
- Dry the clear coat according to the manufacturer’s instructions, then lightly sand with 2000-grit sandpaper to ensure a smooth finish.
Step 6: Polish the Repaired Area
- Polish the area with a polishing compound and a microfiber cloth to blend the repair with the surrounding paint and restore the shine.
- Remove any masking tape and clean the area once more to remove any residue.
Final Check and Maintenance
- After completing the repair, inspect the area to ensure the finish is smooth and matches the rest of your car.
- It’s advisable to wait at least a week before washing or waxing the car to allow the paint and clear coat to fully harden.
By following these steps, you can effectively repair paint chips on your car, preserving its appearance and preventing further damage. Remember, patience and attention to detail are key to achieving a professional-looking finish.
Tips and Tricks for a Professional Finish
Achieving a professional-looking finish when repairing paint chips on your car requires more than just following the basic steps. Here are some expert tips and tricks to help you refine the process and ensure your repair blends seamlessly with the original paintwork:
1. Color Matching is Key
Find the Exact Paint Code: Your car’s paint code is typically located on a sticker in the door jamb or under the hood. Use this code to purchase the exact color match for your vehicle.
2. Practice Makes Perfect
Test First: Before applying paint to the chip, practice your technique on a piece of cardboard or another disposable surface. This helps you get a feel for the brush and the thickness of the paint.
3. Apply Paint Sparingly
Thin Layers: Build the paint up in very thin layers, allowing each layer to dry thoroughly before applying the next. This prevents drips and makes it easier to achieve a level surface with the surrounding area.
4. Patience with Drying Times
Don’t Rush: It can be tempting to move through the steps quickly, but allowing adequate drying time between primer, paint, and clear coat applications is crucial for durability and finish quality.
5. Sanding Between Layers
Smooth Transitions: Lightly sanding between layers of primer, paint, and clear coat with the appropriate grit sandpaper can create a smoother finish and better adhesion between layers.
6. Blending the Repair
Polishing the Edges: After the clear coat has cured, gently polish the edges of the repaired area to blend it into the surrounding paint. This can help eliminate any raised edges or slight color differences.
7. Protecting Your Work
Wax After a Week: Apply a coat of wax to the repaired area after waiting at least a week. This will add an extra layer of protection and enhance the shine, making the repair even less noticeable.
8. Keeping Supplies on Hand
Be Prepared for Future Repairs: Keep leftover paint, primer, and clear coat in a cool, dry place. Having these materials on hand makes it easier to touch up any new chips or scratches promptly.
9. Avoiding Common Pitfalls
Cleanliness is Crucial: Any dust, grease, or moisture on the surface before applying materials can prevent proper adhesion and affect the finish. Always clean the area thoroughly before each step.
By incorporating these tips and tricks into your repair process, you can significantly improve the appearance and longevity of your paint chip repairs. Remember, attention to detail and a methodical approach are your best tools for achieving a finish that closely matches the original paintwork of your car.
Cost Analysis: Repairing Paint Chips Across Different Car Brands
When it comes to repairing paint chips, the cost can vary significantly depending on the car brand, the extent of the damage, and whether you decide to tackle the job yourself or seek professional help. Below, we provide a general price range for DIY repair kits and professional repair services for several popular car brands. Keep in mind, these are approximate figures and can vary based on location, specific model, and the severity of the paint chip damage.
DIY Repair Kit Costs:
- Economy Brands (e.g., Ford, Honda, Toyota): DIY repair kits can range from $15 to $50. These kits typically include touch-up paint, primer, and clear coat.
- Mid-Range Brands (e.g., BMW, Mercedes-Benz): Expect to pay slightly more for DIY kits, around $20 to $60, due to the specialized paint colors and finishes.
- Luxury and Exotic Brands (e.g., Porsche, Ferrari): DIY kits for these vehicles may range from $30 to $75, reflecting the premium paint and finishes used.
Professional Repair Costs:
- Economy Brands: Professional paint chip repairs can cost between $100 and $300, depending on the damage’s extent.
- Mid-Range Brands: For these cars, professional repairs can range from $150 to $400.
- Luxury and Exotic Brands: The cost can easily exceed $500 for professional repairs, especially if the paint finish requires special treatment or if there are multiple chips across the vehicle.
Factors Affecting Cost:
- Extent of Damage: The more extensive the damage, the higher the cost. A few chips are cheaper to fix than numerous ones spread across the car.
- Color Matching: Custom or rare colors might increase the price due to the difficulty in matching the paint exactly.
- Additional Services: Some repairs may require additional services like sanding, priming, or even partial repainting of the area, which can add to the overall cost.
Conclusion and Maintenance Advice
Successfully repairing paint chips on your car not only enhances its appearance but also protects it from rust and further damage. By following the step-by-step process outlined in this guide, along with our expert tips and tricks, you can achieve a professional-looking repair that maintains the integrity and beauty of your vehicle’s finish.
Maintaining Your Car’s Paintwork:
- Regular Washing: Keep your car clean by washing it regularly. This removes harmful substances like road salt and bird droppings, which can cause paint to chip and metal to rust.
- Waxing: Apply a quality car wax every few months to protect the paint from UV rays and environmental pollutants. Waxing also provides a barrier against scratches and chips.
- Parking Wisely: Whenever possible, park your car in a garage or under cover to protect it from the elements. If you must park outside, try to find a shaded area to minimize exposure to the sun and reduce the risk of paint fading and chipping.
- Immediate Attention to New Chips: Should new chips occur, address them promptly to prevent rust and minimize the repair area. Keeping a small repair kit in your car can be handy for immediate touch-ups.
Final Thoughts
The key to a successful paint chip repair lies in precision, patience, and preparation. While the process may seem daunting at first, with the right tools and techniques, you can restore your car’s paintwork to its former glory. Remember, the effort you put into maintaining your car’s appearance not only ensures it looks great but also preserves its value over time.
By incorporating the maintenance advice provided, you can extend the life of your paintwork and avoid frequent repairs. Your car is a significant investment, and taking care of its exterior is crucial for its longevity and resale value. Happy repairing, and here’s to keeping your car looking its best for years to come!
Do not forget to check our blog for more!